Planting seeds is one of the most rewarding and educational experiences for any gardener, beginner, or expert. It allows you to have complete control over the entire growing process, and the results can be both beautiful and bountiful. In this guide, we will take you step by step through the process, from selecting seeds to planting seedlings in your garden. Whether you’re working with a windowsill garden or a full outdoor space, this guide will provide the knowledge you need to succeed.
Start With the Basics: What You Need to Know About Planting Seeds
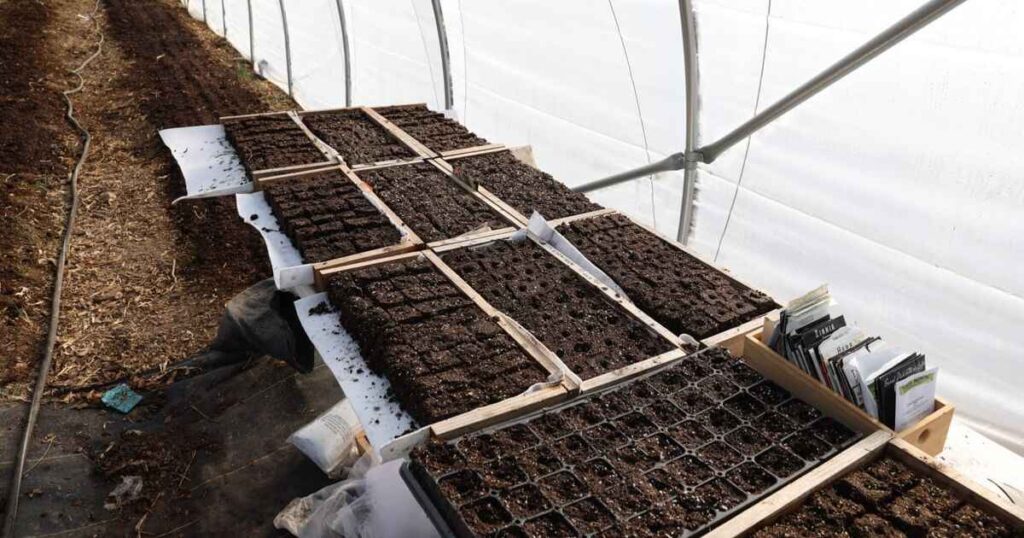
Before you begin, it’s important to understand the basics of planting seeds. This involves knowing what seeds to choose, how to start seeds indoors, and ensuring you have the proper materials for successful seed germination.
Why Start From Seeds?
Starting from seeds gives you more options in terms of plant varieties and is typically more affordable than buying young plants. It also gives you the chance to control every stage of growth, ensuring your plants thrive from seedling to maturity.
Selecting Your Seeds
Choosing the right seeds is the first step in planting seeds. The types of seeds you select will determine how easy it is to grow your plants and how successful your harvest will be.
Key Considerations for Selecting Seeds:
- Climate Zone: Different plants thrive in different environments. Always check your USDA hardiness zone.
- Plant Preferences: Some plants prefer cooler climates while others do better in warm, sunny conditions.
- Seed Variety: Heirloom, hybrid, or genetically modified seeds? Each has its advantages and drawbacks.
- Planting Season: Pay attention to the timing of the planting season. For example, early spring crops require cold-weather tolerant seeds.
Here’s a table to help you select the right seeds based on your needs:
| Type of Plant | Hardiness Zone | Best Planting Season |
| Tomatoes | 5-10 | Late Spring |
| Spinach | 2-9 | Early Spring |
| Zucchini | 3-11 | Late Spring |
| Carrots | 3-10 | Early Spring |
Seed Starting Containers
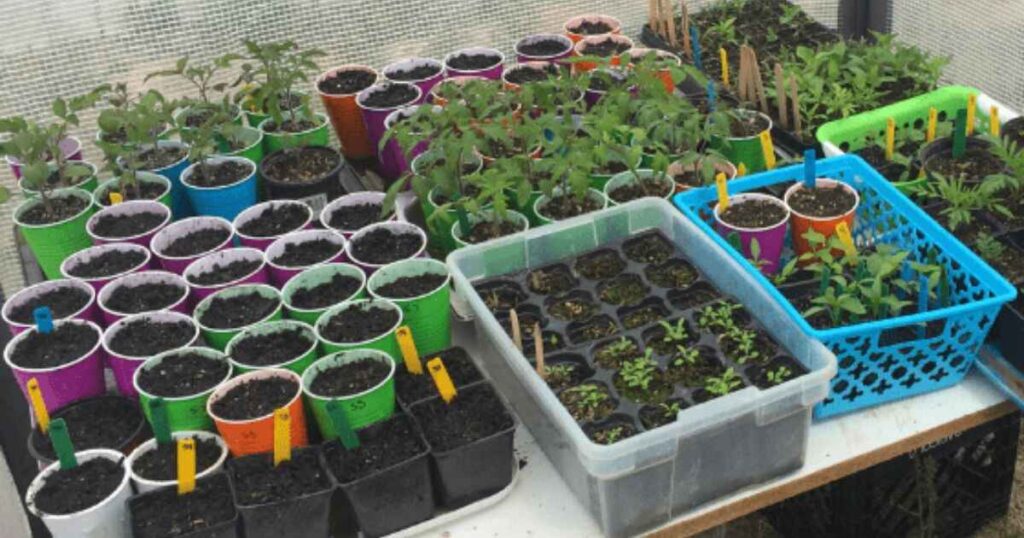
Choosing the right containers is vital for successful seed starting. You can use recycled containers for planting, such as egg cartons, or opt for plastic seedling containers. These containers help you control the environment for the seeds, providing warmth and moisture retention.
Best Types of Seed Starting Containers:
- Recycled Containers: Perfect for eco-friendly gardeners, items like yogurt cups or egg cartons can be repurposed.
- Plastic Seedling Trays: Provide consistent size and depth for seedlings.
- Biodegradable Pots: These can be planted directly into the soil, reducing transplant shock.
A Guide to Spiritual Growth: Bible Verses About Planting Seeds
Always ensure that containers have drainage holes to prevent waterlogging, which can rot seeds.
Selecting a Soil for Starting Seeds
The right soil is crucial for seed germination. Regular garden soil is often too heavy for young seedlings and doesn’t offer proper drainage. Use a seed-starting soil mix, which is light and promotes root development.
Key Soil Characteristics:
- Well-Drained Soil: Avoid soils that hold too much water. Seedlings need moisture retention but not waterlogged conditions.
- Light and Airy: A soil mix with coconut fiber or peat moss helps retain moisture without compacting.
- Nutrient-Rich: While seedlings don’t need much nutrition initially, a light fertilizer can help as they develop their true leaves.
Case Study: A gardener in Zone 6B used a homemade soil mix of peat moss, vermiculite, and compost. This blend provided the perfect balance of drainage and nutrients for her tomato and zucchini seedlings, resulting in a 95% germination rate.
Sowing the Seeds
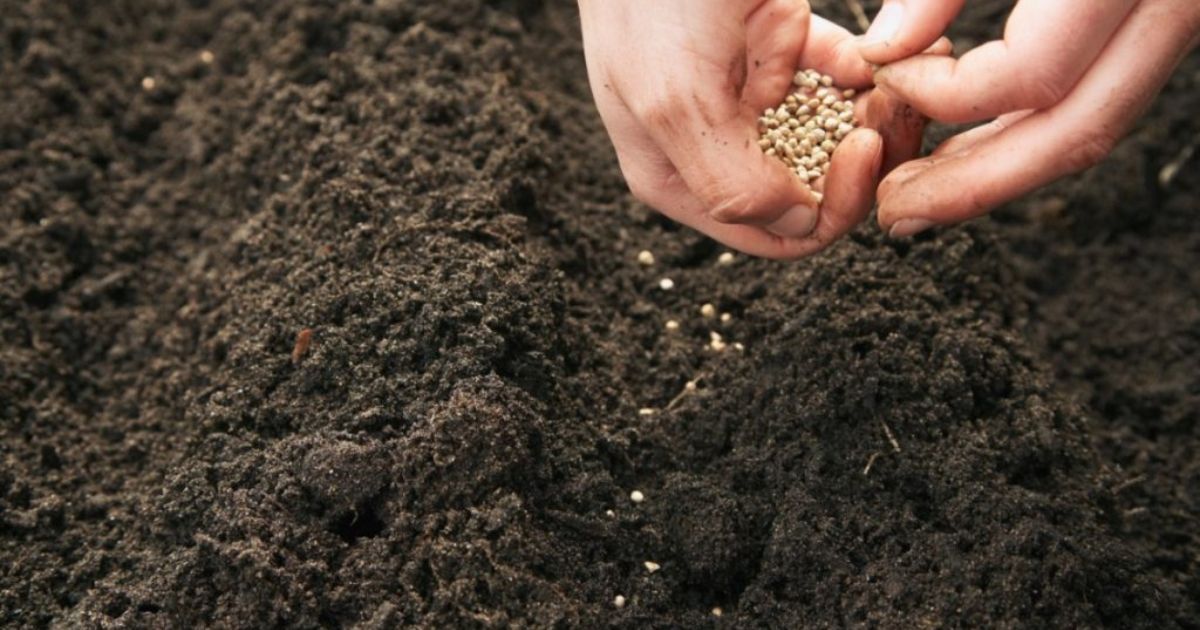
Once your soil and containers are prepared, it’s time to sow the seeds. This process involves placing the seeds in the soil at the proper planting depth and spacing.
Step-by-Step Guide to Sowing Seeds:
Fill the Containers: Use your seed starting soil to fill your containers, leaving about 1/2 inch at the top.
Plant the Seeds: Depending on the seed, planting depth varies. Most seeds should be planted at a depth of twice their diameter.
Water the Soil: Gently water the soil to ensure it’s moist but not soggy.
Cover the Containers: To maintain humidity for seeds, cover the containers with plastic or a humidity dome.
Example: When planting zucchini seeds, aim for a depth of about 1 inch. Spinach, on the other hand, only needs to be planted about 1/2 inch deep.
Conditions for Seed Germination
For seeds to germinate successfully, they require specific environmental conditions, including:
- Light: Many seeds need light to germinate. Place containers in a sunny spot or use grow lights if necessary.
- Temperature: Most seeds germinate best at temperatures between 65-75°F. Consider using a heat mat for seeds that need warmth.
- Moisture: Keep the soil consistently moist, but not waterlogged, to promote strong seedling growth.
Growing Seedlings: Care and Maintenance
As your seeds sprout, you’ll see the development of cotyledons (the first leaves) and later, true leaves. Seedling care involves managing light, water, and nutrition.
Key Tips for Seedling Care:
- Light Exposure: Seedlings need 12-16 hours of light daily. Position them near a west-facing window or use grow lights.
- Watering: Water from the bottom to avoid disturbing delicate seedlings.
- Pricking Out Seedlings: Once seedlings develop true leaves, gently transplant them into larger containers for further growth.
Transplanting Seedlings
When the seedlings are strong and the last frost-free date has passed, it’s time to move them to the garden or larger pots.
How to Transplant Seedlings:
Harden Off Seedlings: Gradually expose them to outdoor conditions by placing them outside for a few hours each day.
Prepare the Soil: Ensure the garden soil is loose, well-drained, and free from weeds.
Planting Depth: Transplant seedlings at the same depth they were growing in their containers.
Planting Seedlings: The Final Step
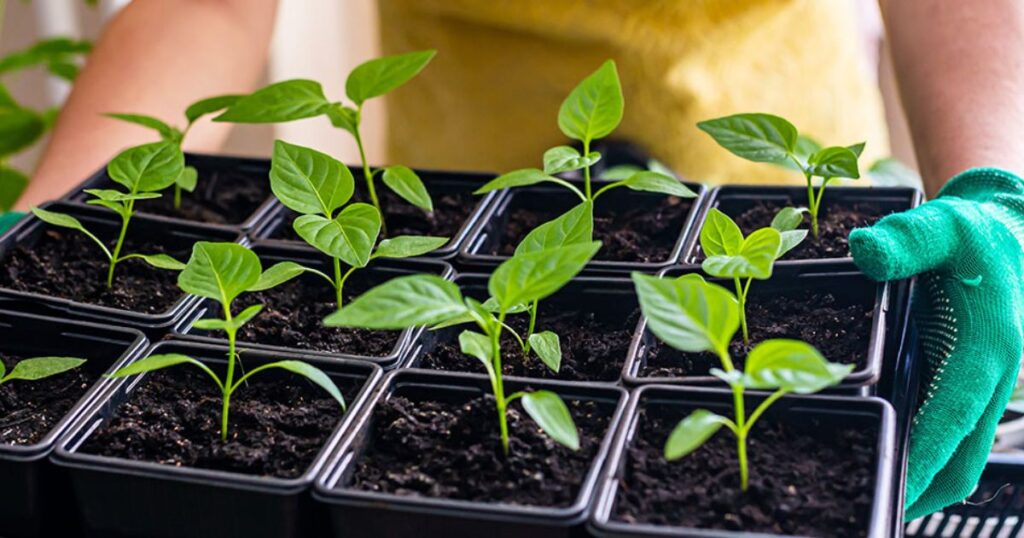
When planting seedlings in the garden, follow these best practices:
- Spacing: Give each plant enough space to grow without crowding.
- Watering: After transplanting, water the seedlings to help them adjust to their new environment.
- Support: For plants like tomatoes, provide supports such as stakes or cages.
By following this comprehensive guide to planting seeds, you’ll be well on your way to a thriving garden. Whether you’re growing early spring crops or creating a windowsill garden, the joy of watching your plants grow from seeds will be both satisfying and educational.
Frequently Asked Questions?
What are the 4 steps to planting a seed?
The 4 steps to planting a seed are selecting seeds, preparing soil, sowing the seeds, and providing proper care for germination.
Ensure consistent light, water, and temperature to help your seeds grow into healthy seedlings.
How do you successfully plant seeds?
To successfully plant seeds, choose the right soil, and containers, and maintain consistent moisture. Provide proper light and warmth for optimal germination and growth.
What do seeds need to grow?
Seeds need water, oxygen, and the right temperature to grow. They also require proper light and soil conditions to thrive.
When should seeds be planted?
Seeds should be planted after the last frost date in your area or indoors 6-8 weeks before. For cool-season crops, early spring is ideal for direct sowing.
How to germinate seeds quickly?
To germinate seeds quickly, soak them in water for 12-24 hours before planting to soften the seed coat. Then, use a seed starting mix and maintain consistent moisture and warmth, ideally around 70-75°F, for optimal growth.
Conclusion
Planting seeds is a rewarding journey that connects you with nature and offers the satisfaction of a nurturing life. By selecting the right seeds, providing suitable growing conditions, and practicing proper care, you can enjoy a thriving garden that brings beauty and abundance to your home. Embrace the process, and watch your efforts blossom into a flourishing reality!

I am Alexander James, a seasoned professional with 4 years of expertise, brings passion and skill to every project. Elevate your experience with my knowledge and creativity.


![Hollyhock Seeds: The Complete Guide to Success [2024]](https://seederabout.com/wp-content/uploads/2024/10/Hollyhock-Seeds-The-Complete-Guide-to-Success-2024-300x157.jpg)

